In 2021, I bought an Ender 3 3D printer. While it was fun to experiment with, I struggled with troubleshooting the numerous issues that came with a budget printer. Now, with my own home and a dedicated garage/man cave, I set up my printer again as I was given the exciting task of printing two life-size Lego Power Miners helmets for Bricktastic 2025 in Manchester.
My brother generously provided me with the helmet files, divided into eight sections and linked by dowels. These were to be glued and filled to create a complete helmet. He also gave me his old Ender 3, which meant I could print twice as much in the same time.
Selecting the right size for printing was quite challenging. Initially, I printed at 1000% of the original size, resulting in an oversized helmet part that was clearly too big once I tried it on. I then opted for 950%, which was still too large. However, since I had already printed 5 out of the 8 parts, I decided to use them as test pieces for experimenting with various glues and fillers.
After the comically large prints, I finally decided that it would probably be a good idea to just measure up the helmet in TinkerCAD so I could get the perfect size and not waste anymore fillament.
First, I imported a cylinder and a model of a human skull into TinkerCAD and increased the size of the circumerence of the cylinder to match that of the widest part of the skull. I shrank these down to a size that fit nicely inside the original helmet file size, and then measured the circumference of the cylinder, which came to be 66.01mm.

With the circumference of the skull measured, I translated this into average human sizes, which can be seen below:
Cylinder/skull circumference = 66.01mm
Average human head circumference (mm)= 5600
Scale factor = 5600 / 66.01 = 84.84
Which meant I needed to print at 848%
Printing
Now that I had the right size for printing, I set up both printers in my garage and set them running. I used standard 1.75mm PLA in various colours (this didn’t matter as the helmets would be primed and painted, anyway) and printed at about 120% speed. The whole process took about 10 days.
Gluing and prepping
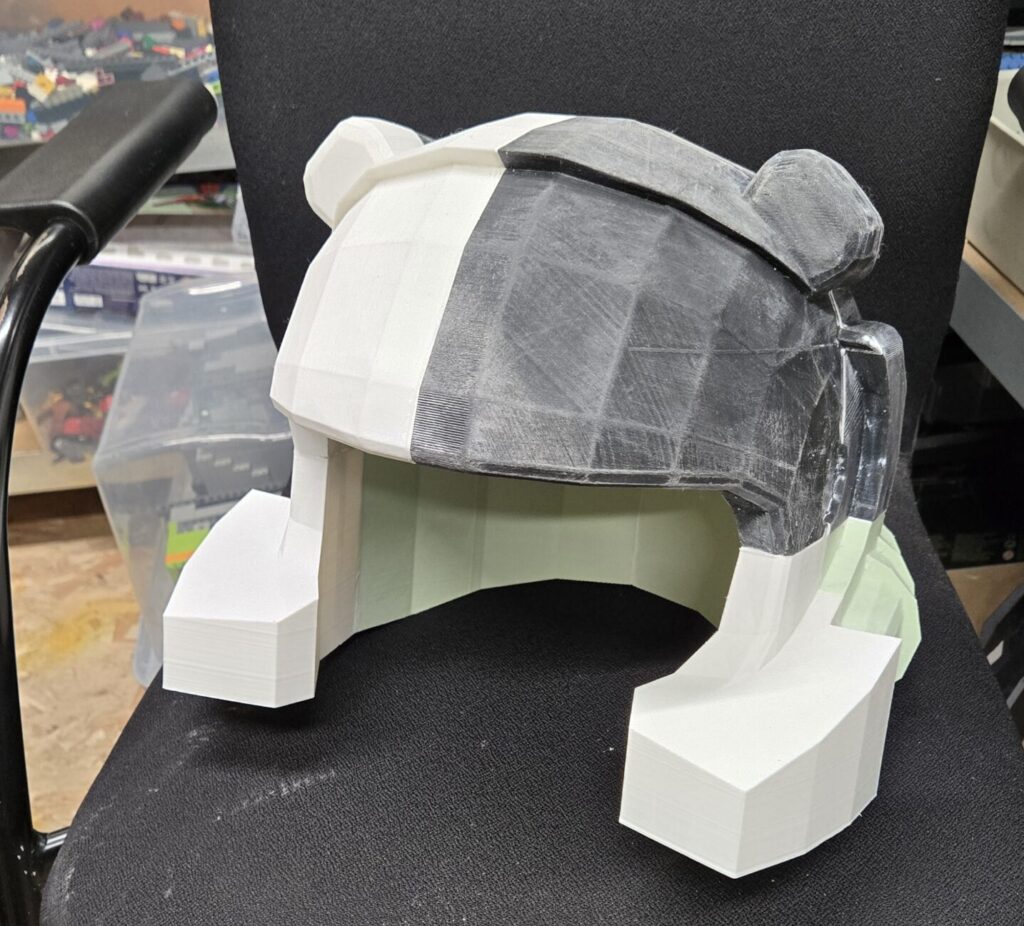
Now was the fun bit. I test fit the parts together with duct tape and the fit was quite good, considering that the helmet design is intended for Lego minifigure heads. I sanded the helmet down to help reduce the layer lines and glued the parts together using several kinds of glue. These included two part epoxy, wood glue and a bit of super glue here and there. After drying, I was left with two very sturdy feeling helmets.

Now was the monotonous part. Sanding, filling and ensuring there were no gaps between the parts. my attempts to fill the seams the best I could involved using Polyfilla, sanding it back and then repeating. I got the helmets to a point where I knew primer would fill in any irregularities and left the fillers to dry for a couple of days.
Priming was relatively easy. I started off with an initial layer, then sanded it back and resprayed. After one final round of sanding, I was finally ready to begin painting.
Painting
The helmets sat around for a while until me and my brother bought the paint, which we got from The Range. After a good number of coats (The PLA seemed quite thirsty!), I was left with two beautiful looking Helmets that looked almost identical to the original Lego minifigure part. The paint took about 7 days to fully dry.

Padding
The last step involved making some padding. I bought a large piece of upholstery foam, and cut it to the shape I wanted, then wrapped this in black cotton and stitched it up on the sewing machine. This made the helmet sit properly on my head without wobbling, and made it much more comfortable to wear.
All in all, the helmets turned out fantastic, and we got a lot of praise for the costumes. If you’re interested in seeing the helmets in person, we will be once again showing them off at Bricktastic 2026!
Leave a Reply